Follow the steps below to perform this procedure.
NOTE: If you would like to follow along with this tutorial, you may download the .cmd file and config explanation file.
Step 1:
Load the 1D command file onto the SuperSting™.
Step 2:
On the SuperSting's main menu, press 1 "Automatic Mode"
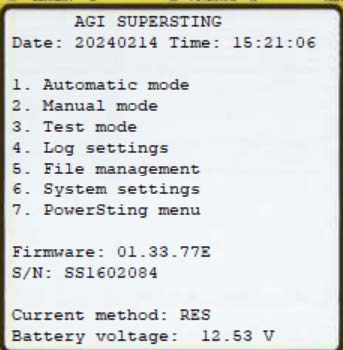
Step 3:
Press 2 "Create a data file"
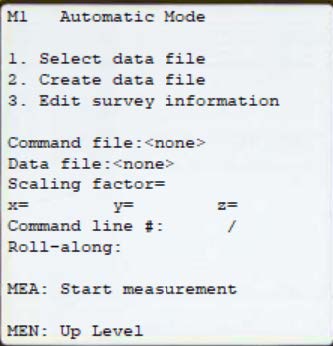
Step 4:
Make a name for your file (max 8 characters). Press ENTR
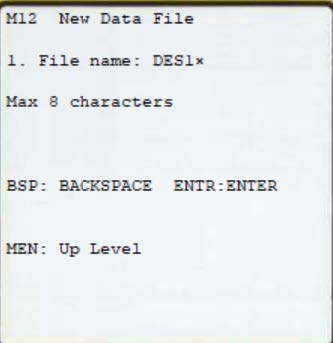
Step 5:
Select the Command File that you want to use (In this example, we're using DESAB7000). Press ENTR
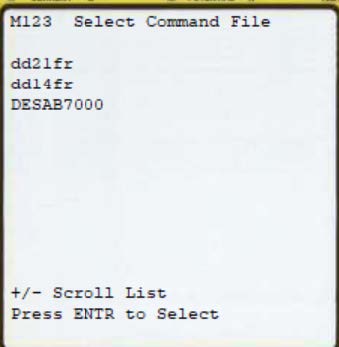
Step 6:
Choose your measure units and scaling factor, then press ENTR
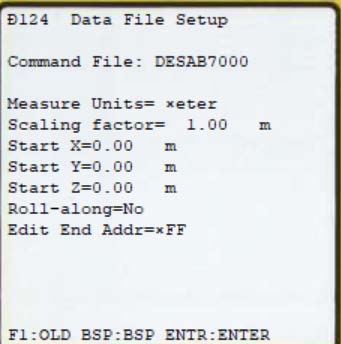
Step 7:
Press ENTR again to continue
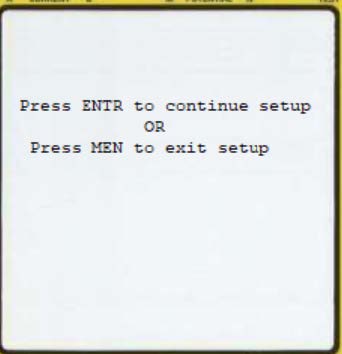
Step 8:
On the "Select Switch System Type" screen, press 2 to select Dual-Mode/Swift
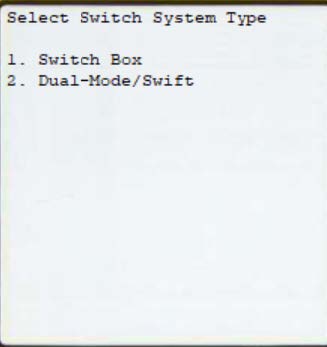
Step 9:
Add your low and high addresses. In this example, our low is 1, and our high is 208 since our Schlumberger command file has 208 electrodes. Press MEN to exit back to the main menu.
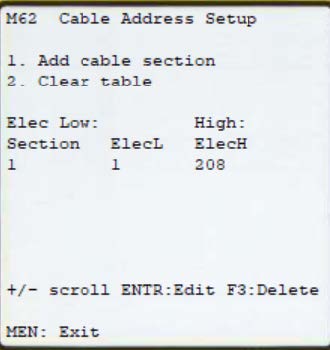
Step 10:
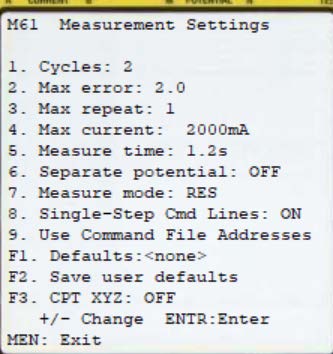
On the main menu, press 6 "System Settings."

Step 11:
Press 8 "Single-Step Cmd Lines: On"
Step 12:
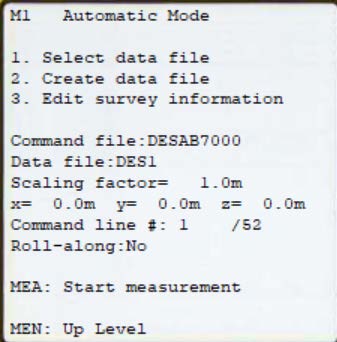
Press MEA to start the measurement
Step 13:
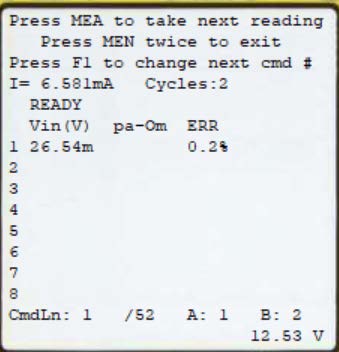
After the reading is completed, there are three actions that you can take:
- You can change the position of the A,B,M,N electrodes, then press MEA for the next reading
- You can press F1 to change the next command line or repeat your current line
- You can press MEN twice to exit back to the main menu
TIP: When taking measurements in the field, you should plot each reading on loglog graph paper before proceeding to the next one. You may download a PDF of LogLog Graph Paper here.
This will ensure that the 1D curve is smoothly increasing. If any reading is far offset from the curve, then the electrode position should be checked, and the reading should be repeated.
