Follow the 3 steps below to perform a receiver test on a Pre-2016 SuperSting™ R1 (Serial Number Begins with SP)
Note: If you have a SuperSting™ Wifi and you want to perform a receiver test, you can find instructions in this Help Desk article.
You will need:
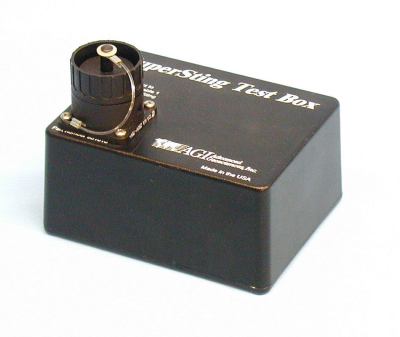
- A SuperSting™ Test Box (pictured above)
- Your SuperSting™ R1 with a serial number beginning with SP (built prior to 2016)
- An isolated external battery and battery cable
- Yellow 2 meter extension cable.
Steps:
- Connect the Test Box to the SuperSting™ faceplate using the 2-meter extension cable.
- Power the SuperSting™ using an external battery. Go to menu 6/1 to change your measurement settings. Change the maximum current to 10mA for the Test Box. All other settings can stay as the defaults.
- Exit back to the main menu and choose menu 2: Manual Mode. Choose option 1: Resistance. Create a new data file (it does not matter whether meter or feet is selected as the unit of distance). Once the file is created, press MEA to take a manual mode measurement on the Test Box. The current output should be around 6.7mA. The voltage measured will be close to 3.3mV, and the resistance should be close to 500mΩ. The error percentage should be below 5.0%. Press MEA a few times to take several measurements and verify that the results are consistent and close to 500mΩ (+-5%). The acceptable range is 475 to 525 mohm. If not, try an alternate 2m extension cable and run again.